About
Turing machine is a hypothetical machine which can run any computer algorithm. It is a theoretical model of a computer. Machine is hypothetical because it requires an infinite tape for reading/writing. Turing machine consists of (infinite) tape, read/write head, internal state and a list of rules — based on the current internal state and the symbol on the tape rule tells which symbol to write to the tape, which internal state to switch to and whether to move one step left or one step right on the tape.
I built a model of a Turing machine for the first exhibition from the series "Re-Making/Re-Mixing History" titled "Alan Turing – Electronic Alchemist" by RADIONA.ORG makerspace.
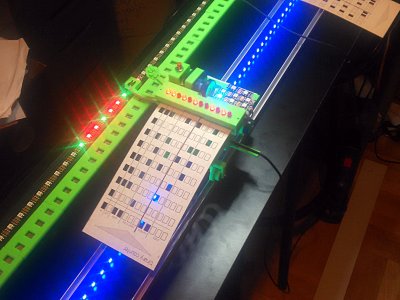
In each "processing cycle" reading head reads the value on the current memory cell (LED color), checks internal state and scans the punched card for the rule matching the symbol and state. Rule defines which symbol to write to the memory cell, which state to switch to and which direction to move afterwards.
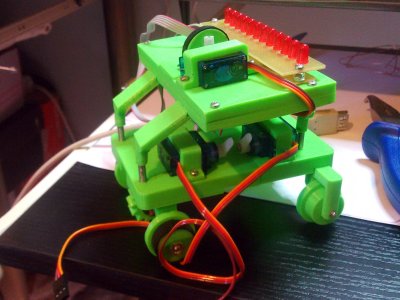
So, this is my interpretation of Turing machine (I forgot to set the date/time on camera and turn off the timestamp :)):
Hardware
Hardware is designed around two separate systems: a tape and a read/write head. Rules are defined on a punched card. Most of the mechanical parts are 3D printed on a Hobbyking's Fabrikator Mini 3D printer (great little beast, except it's really small so bigger parts need to be cut).
Main unit
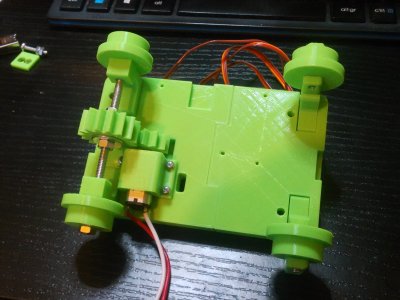
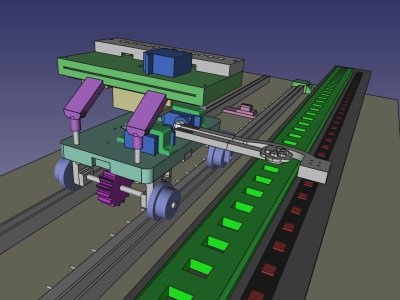
Main unit with read/write heads is designed to be like a small vehicle on rails. It has a punched card reader on top (actually, this is a leftover from one of the past projects so I decided to use it for this), small DC motor for moving along the tape and a reading and writing heads.
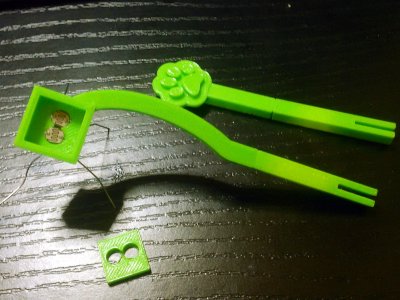
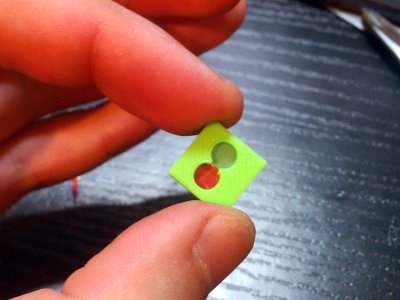
Writing head is simple — it is just a piece of wire connected to GND and moved with small servo. Reading head consists of two LDRs with color filters — one for green and one for red color (color filters are just pieces of colored shopping bag).
Along the rails there are position markers (blue LEDs). Vehicle has a LDR on the bottom which reads those LEDs and uses them for aligning to memory cells (this doesn't work perfectly so sometimes it has to "wiggle" a bit around the cell).
Tape
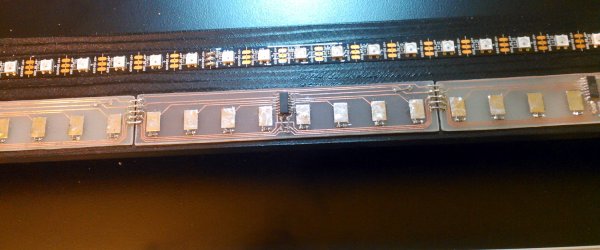
Tape must be writeable and erasable so I decided to go with a LED strip and an array of touch pads, each representing one memory cell. By tapping on the touch pad (actually, by connecting it to GND) associated LED switches between red ("0"), green ("1") and off ("blank").
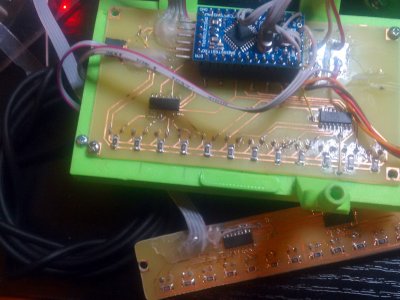
For LED strip I used the WS2812 ("Neopixel") strip with 56 LEDs controlled by Arduino Pro Mini. Input "keys" are just a bunch of pads, pulled high and connected to seven 74HC595 shift registers enabling me to read all 56 pads with just a few pins. Kicad project (schematic and PCB) for the input keys is in the repository (tape_pcb/).
Additionally, there is a "probe" (a pen connected to GND) for manual LED switching, i.e. setting the initial conditions.
Note to self: when printing with PLA the raft attaches to print really strongly so there is no way to remove it (little holes in the tape covers had to be manually cut out because of this )
Punched cards
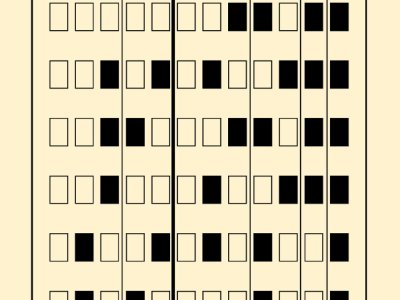
Algorithm for the machine is defined on the punched card. Internal states are defined with three bits (allowing max eight states), symbol is defined with two bits (00-blank, 01-zero, 10-one, 11-reserved) and move direction with 1 bit (0-left, 1-right). there is additional hole on the card required for correct operation. First and last rules on the card are special — they are used for marking the beggining and the end of the card so that it is easy to scan the card over and over. Start/end rules is defined with tape symbol and write symbol equal to 11. Halting rule is defined by setting write symbol to 11.
I copied the three state busy beaver and binary counter algorithmss from http://aturingmachine.com/examples.php (binary counter was modified to run in an endless loop).
Software
All the code for the machine (tape and main unit) is available in the repository, together with all 3D models (the whole device is modeled in the platform.fcstd file), Kicad projects and punched card templates. For 3D modelling I used FreeCAD.
The code, Kicad projects and 3D files can be found here: https://bitbucket.org/igor_b/turing_machine
