This is very simple device for light painting on long exposure photos, inspired by pixelstick. The whole idea is to paint the picture row by row (or column by column).
Hardware
I had a RGB LED strip with HL1606 drivers laying around so decided to make this quick and dirty hack. The whole device consists of an arduino, LED strip and a power supply (batteries are recommended). DI, CI and LI pins from the strip are connected to arduino pins 5, 6 and 9 (it is also possible to connect it to SPI pins for faster communication) and Adafruit hl1606 library is used. Image is hardcoded in the arduino.
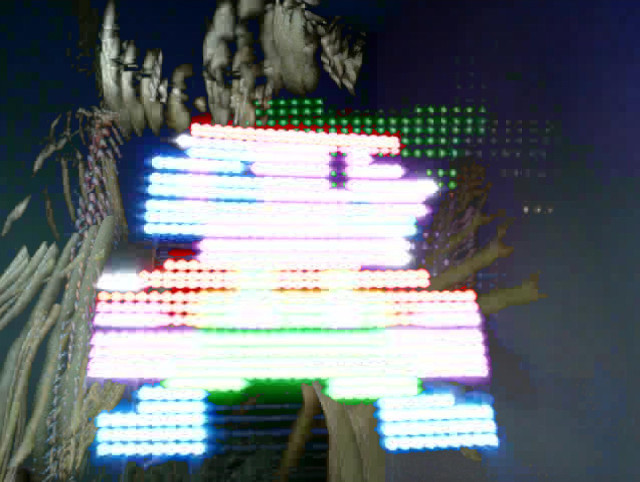
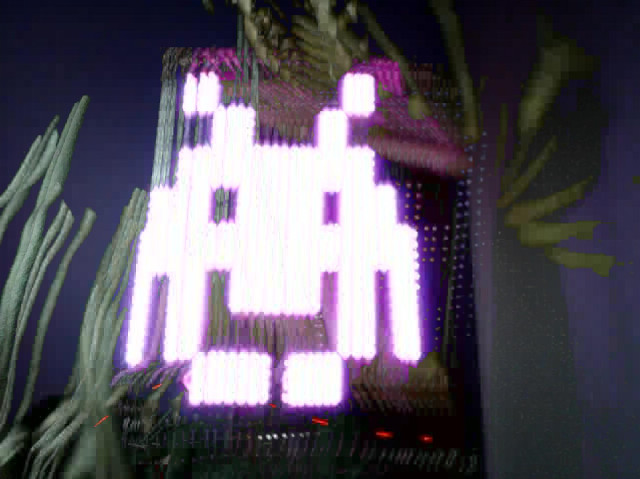
Image generation
To convert image to arduino code I created very simple web app located at http://f.hyperglitch.com/lightstick.html. It just resizes image to the height of 32px, saturates colors (arduino code does not use PWM so we have only few colors available) and creates arduino code that can be copied directly to arduino IDE (Adafruit HL1606 library needs to be installed).
Current code is limited to 32 RGB leds (1m of LED strip).
Getting the final image
Best results can be obtained by using long exposure on DSLR camera. Another approach is to combine lot of short exposure photos. This approach is simpler and there are apps for mobile phones for that (haven't tested any of them). Using any approach should give better results than the following method :D.
Since this is a quick and dirty hack I created an ad-hoc method for this using the following steps:
- record the scene as video file (I used webcam and guvcview app)
- extract frames from recorded video file ("ffmpeg -i my_video-1.mkv -f image2 image-%3d.jpeg")
- running the octave script in the images directory which will generate "out.jpg"
Note that this is very lousy way of blending images. For every pixel in the final image script just takes the brightest pixel at that location from all the images. I need to rewrite this.
Sometimes better results can be obtained by changing the FPS of the recorded video. Same can be achieved by changing the frame_skip variable in octave script.